Last Updated on May 26, 2025
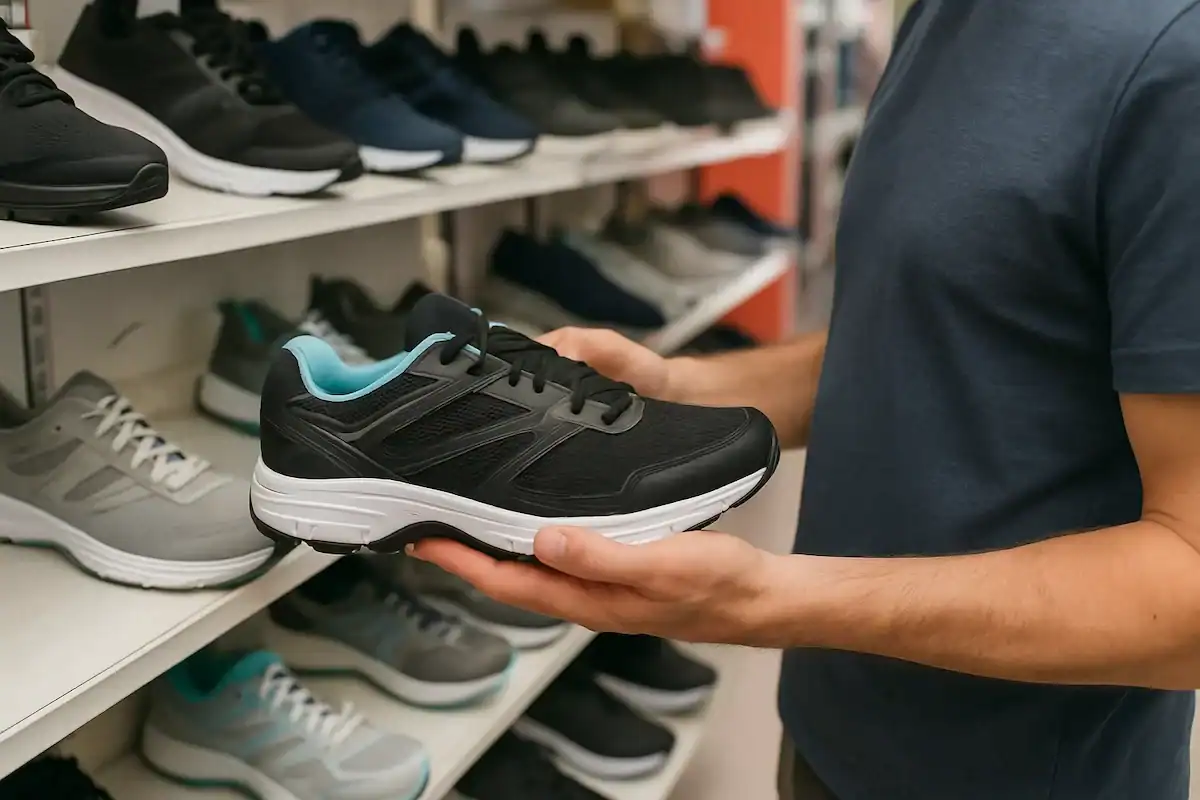
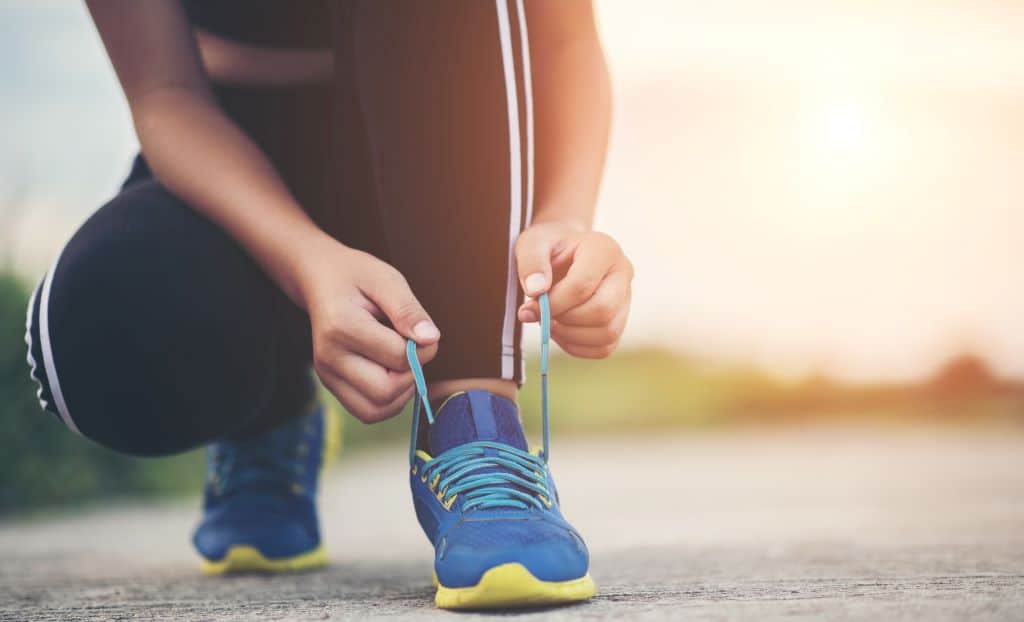
There is nothing quite as annoying as investing in a brand new pair of high quality running shoes and then finding that every time you put them on you can barely get to the end of the road before having to limp home in pain.
Having sore feet is not only no fun, it can also put a serious crimp in your exercise regime, so if you want to get the most out of your high performance running shoes, you need to know how to break them in quickly and painlessly so that you can get back to your fitness program!
The internet is full of crazy ideas about how to break in new shoes, but some of them are really not a good idea.
After all, you just spent a lot of money on your new footwear, so it would be foolish to potentially damage them straight away by putting them in the microwave or washing machine!
Luckily, there are effective ways of making the breaking in process more rapid without causing any damage and without having to endure the pain of blistered toes.
[toc]
Ways Of Making The Breaking In Process More Rapid
1. Protect The Key Areas
Breaking in a new pair of running shoes is always difficult, however you can reduce the pain you experience by knowing where blisters are likely to spring up.
While heels are one of the most obvious spots, there are some other more unexpected areas that you should protect including the top of the toes and the sides of the feet.
Before heading out for your first run, walk about your home wearing your new shoes for a couple of hours and you’ll spot the problem zones that require protection.
Friction is the cause of blistering, and since dry skin rubs more than skin which is well hydrated the first step towards protecting your feet is to moisturize them with lotion and then apply petroleum jelly to the worst areas.
You can also spray some antiperspirant onto your feet to prevent the sweating which aggravates blisters and apply some paper surgical tape onto the hotspot areas.
This is highly effective in preventing blisters in runners since the tape is thin and smooth as well as easy to remove.
2. Wear Thick Socks
A good approach to breaking in your new running shoes is to stretch them so that they are large enough to accommodate your feet easily without any rubbing.
Put some chunky socks over a shoe-shaper and then put them inside the shoes during the night to allow them to stretch to the right size. If you have no shoe shaper, all is not lost as you could use a potato instead.
Alternatively, put on your chunkiest socks and then put on your shoes while you lie down on the sofa or sit at a desk working. The shoe material will be slowly stretched without causing you pain.
3. Use The Blow-Drying Method
This method isn’t suitable for all types of running shoes, but if you have leather footwear the blow drying trick is very effective in stretching to the right size.
Identify the areas where you are experiencing tightness, then get a pair of thick socks and a hairdryer, put the socks on, put the shoes on over them and then switch on the hairdryer, blowing hot air over the problem area for around 30 seconds.
Take care not to burn your feet while doing this. While the shoe material is still warm and flexible, walk around the room for a while.
4. Try An Ice Bag
If heat isn’t working out or your shoes are made of a synthetic fabric and so can’t be used with a hairdryer, ice could be the ideal alternative.
You can stretch your running shoes overnight by filling up two freezer bags with water and putting them inside each shoe’s toe box.
Pop the shoes into the freezer when you go to bed and in the morning you’ll find that the water has frozen to expand the toe area.
Although this is a tricky method to get right since it involves a bit of trial and error to avoid overstretching or not stretching enough, when you do get it right, you’ll find that your toes have plenty of room to move.
5. When All Else Fails: Water Bucket
While this method isn’t for everyone, it could be a good final solution if everything else fails and you really don’t want to have to splash out some more cash on a different pair of running shoes.
If you’ve found that your shoes just don’t want to mold properly to your foot shape, you can try putting on the shoes and putting your whole foot into a large bucket of water.
Once they are thoroughly wet, remove your feet from the bucket and towel the shoes to make sure that they don’t go a strange color, however leave them damp enough to complete the following step.
While the shoes are still damp go for a walk for a couple of hours. The water should soften its material allowing the shoe to mold better to your feet than they could while dry.
This method works best on leather footwear, but it’s important to test just a single spot on the shoe with a small amount of water before dunking them under the water completely just in case it causes the colors to fade.
Wrapping Up
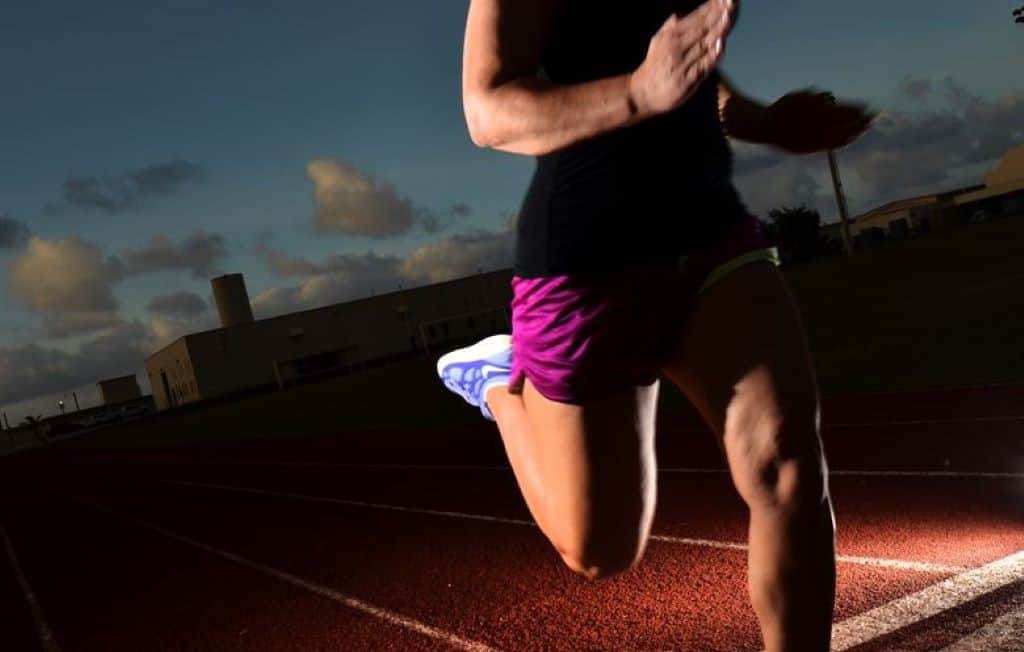
While breaking in a new pair of running shoes is an unpleasant and time consuming task, once you’ve managed to achieve it, you’ll find that your footwear is a lot more comfortable and you can get a lot more out of your exercise regime.
Even the toughest pair of running shoes should be fully broken in within a couple of weeks, and many lightweight pairs will take a considerably shorter period to mold to shape.
There’s nothing better than hitting the road for another successful run without having to worry about pain and blistering, and you won’t have to break the bank to invest in yet another pair of running shoes!
What’s Next
Still, shopping for your new pair? No worries! We’ve got all your footwear needs covered with helpful guides to the best running shoes for all gaits, such as our buying guide for high arch-friendly running shoes.
Check out our reviews to find picks that require next to no break-in period!